Tuesday, April 23, 2013
"Go confidently in the direction of your dreams. Live the life you have imagined..."
"Go confidently in the direction of your dreams. Live the life you have imagined..."
Sunday, April 21, 2013
Tim Holtz "12 Tags of 2013"
It has been a while since I made a decorated tag. I knew Tim Holtz was doing a round in 2013. I take this journey with Tim and here is my tag.


I made a mix of Tim's technique and I had to adjust here and there. For example, my paint did not run as Tim's does and I don't have any Tim Holtz embellishments. So there was a lot of creativity going on, but I made it! My clock is made of card board and the letter C is the first letter of my swap partner and it is from a set alphabet stickers. I just did the technique on the card board and the alphabet letter. The left corner above is a photo corner sticker and I also did the technique on the photo corner. The clock is adhered with foam tape. I used rubber stamps from Hero Arts (butterfly and text). The clock is a rubber stamp from Rubbernecker.com. I used Tim Holtz mini misters containing homemade glimmermist and water. A finishing touch: spray the tag with Tattered Angels glimmermist "Sweet Clover".


I made a mix of Tim's technique and I had to adjust here and there. For example, my paint did not run as Tim's does and I don't have any Tim Holtz embellishments. So there was a lot of creativity going on, but I made it! My clock is made of card board and the letter C is the first letter of my swap partner and it is from a set alphabet stickers. I just did the technique on the card board and the alphabet letter. The left corner above is a photo corner sticker and I also did the technique on the photo corner. The clock is adhered with foam tape. I used rubber stamps from Hero Arts (butterfly and text). The clock is a rubber stamp from Rubbernecker.com. I used Tim Holtz mini misters containing homemade glimmermist and water. A finishing touch: spray the tag with Tattered Angels glimmermist "Sweet Clover".
Address Label Stamping HM card
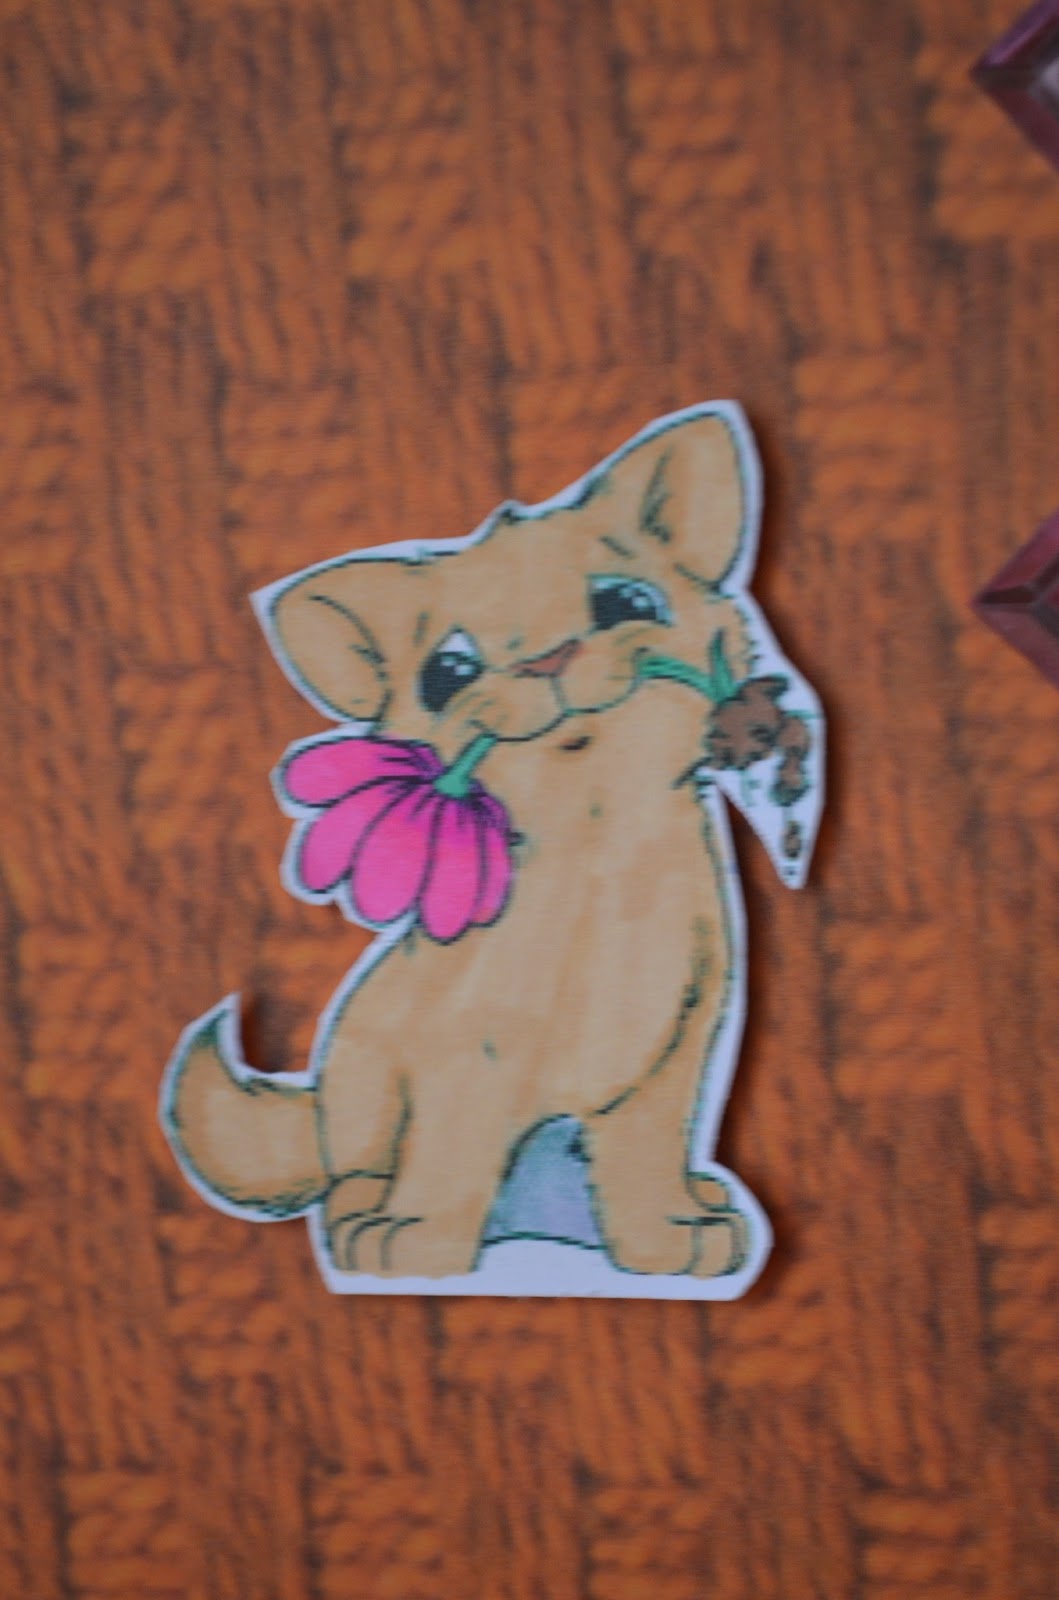
I never heard of this technique. My first trial on this one. I thought it would be hard to line the address labels, but with the help of a ruler and a pencil, I lined the labels straight. I thought the address labels were to white for the card, so I added a background to it. I used a Clear Scraps stencil for the background. To stamp the greeting I used Close To My Heart stamp pad 'Tulip' and the greeting I got from a grab bag I bought at vlvstamps.com. The oval cut is done by using my Cricut Expression and the Art Philosophy cartridge. The sweet girl image is a rubber stamp, but I can't remember which brand it is. I guess it could be a Whiff of Joy rubber stamp, but I am not sure. I used Stampin' Up markers an Tombow dual brush markers to colour the image. Ta ta for now:-)


Bits and pieces
I can't remember where I got this from, but I discovered patterned paper and kind like 3-D cardmaking collection. Well, as for cardmaking I don't like 3-D cards or better said the card one makes out of cutting figures, flowers and such. Can you follow me? But it is hard to throw anything useful away. I cut out the base, the layer and the greeting and with my Ek success round punches I cut out the flowers you see in the left corner. Voila, a nice handmade postcard created. This was very easy to do. No stamping, no ribbon or embellishment. I added the greeting on card board first to make it sturdy and adhered it on foam tape. An easy and fun project:-)


Frog card
Such a forgotten frog clear stamp!. For this swap I created a somewhat masculine card. Lots of green of course:-) The leave is cut with my Cricut Expression using the Create a Critter cartridge. Image coloured with Copic markers. I did the dots technique on the belly of the male to let him appear more masculine:-)
Another difference between the two frogs is the skin colour; I gave him a dark green pigmentation. I also added some pearls with a Stanger Perlen Maker (from Germany). I just saw the Stanger Perlen Maker in a small store when we visited Germany once. It is just as good as the Viva Perlen Pen, but it was cheaper. The patterned paper is from Bo Bunny 'Blast Off! Collection'. This card will travel to Australia. Enjoy your Sunday and thank you for stopping by!


Another difference between the two frogs is the skin colour; I gave him a dark green pigmentation. I also added some pearls with a Stanger Perlen Maker (from Germany). I just saw the Stanger Perlen Maker in a small store when we visited Germany once. It is just as good as the Viva Perlen Pen, but it was cheaper. The patterned paper is from Bo Bunny 'Blast Off! Collection'. This card will travel to Australia. Enjoy your Sunday and thank you for stopping by!


Saturday, April 13, 2013
HandMade Card with a Tree theme
My first partner loves stamped images on beige or white card stock. she does not like embossing, so I did not embossed with ink. I thought she meant ink embossing. The tree and the greeting is stamped on white card stock. I did embossed the craft card stock.


My second partner loves pink. So a pink card for her. The ribbon is a nice addition to the card.


My second partner loves pink. So a pink card for her. The ribbon is a nice addition to the card.


A Recycled Greeting for Earth Day
It is amazing to see how many materials are around in my house. Materials we coud repurpose. This swap is to recylce any kind of material (chunk board, card board or non-corrugated card stock or any other material). Just look around you and be creative. For my postcard I often usethese boards, but I use the other side of the board. So using the front of the box was a new idea for me. Well, it is a lovely postcard, isn't it?


Wednesday, April 10, 2013


Sunday, April 7, 2013
Profile Based Hand Made Card
So I started another black & white card. This time I had a hard time creating. I used my Art Philosophy cartridge to cut the card base out. I adhered vellum on the inside of the card to give the flowers a layer. A rhine stone really make the flowers stand out as well as the accent on the hat. The image is from sweetpeastamps and it is stamped on Make it Colour blending card from Makeitcrafty.com. I used my Copic markers to colour this image. Colours used: W00, 1, 3, 9 and C5. Since I use Copic markers I stamped the image using Memento Tuxedo Black ink. The black strips on the image is embossed black paper as you can see on the picture in the post before this post. Finally I added two alphabet stickers to say Hi :-)) The image is coloured in warm grey and still I call this a Black & white card .... our secret, all right? :-))


Have fun!


Another sweetpeastamps.com image, which I coloured with Copic markers. And I used another freebie tag from Danasinspiration.blogspot. I cut the patterned paper with my Cricut Expression using A Child's Year cartridge.

Have fun!
Black & white
I start making this card for a swap. A black & white card, since the partner I create this card for love black & white handmade greeting cards. But after reading the description of the swap for a second time I realized I missed one thing: we have to use a rubber stamped image. Aiaiaiai, I have to start all over again .... but I do love this card^_^
I used the Forever young Cricut cartridge and a freebie tag given by Danasinspiration.blogspot. The swirl on the right side is stamped with a Rubbernecker rubber stamp.

Enjoy this Sunday!
I used the Forever young Cricut cartridge and a freebie tag given by Danasinspiration.blogspot. The swirl on the right side is stamped with a Rubbernecker rubber stamp.

Enjoy this Sunday!
Subscribe to:
Posts (Atom)